
when sketchup imitates life

We started modeling our house in SketchUp a few years ago. Since then, it has helped us figure out the overall redesign for the main floor, choose the color scheme for the exterior, and flush out specific details like our fence and loft ladder. While we’ve been pretty precise about dimensions, colors and materials, I never really thought the final product would look like the “sketchy” model, especially considering that our house is 100 years old.

But I have to say, I’m a little weirded out/amazed at the comparison.

Obviously we’re still missing the barn doors (doors…totally overrated!) and we changed a few small things along the way, but all in all, SketchUp doesn’t lie.

The last time we did a SketchUp comparison, it was way back in April (see that post here). This photo was taken at the end of demo day, when chezerbey felt more like a barn than a house. Ugh, I get tired just looking at this!

Needless to say, it’s been a busy year!

kitchen details

First of all, a big thanks for all the positive feedback last week! Seriously, it made those six months of eating in our basement totally worth it.

Some people had questions about the innards of our kitchen, so we’re back to share the dets. In addition to the custom shelving units that we made, we also made some modifications to the IKEA units themselves, and thought we’d share those tidbits here as well.

But first, the view inside our fridge. It may only be 2′ wide and counter depth, but 98% of the time it’s enough space for us. Usually we just buy food and eat it the same week so we don’t need a lot of space for extras. The freezer portion below has 2 full size drawers and a half drawer at the bottom (to make room for the compressor). Our freezer mostly consists of coffee, ice cream and frozen veggies so it works for us. If, someday, we have lots of little Zerbeys running around and need more space, we could always do a full height refrigerator-only unit and then do a separate freezer in the basement. But for now, it does the job. (Note: since the fridge needs to ventilate at the top, we opted not to do another custom shelf in that area. The space is still useful for storing larger trays and the like.)

In addition to our custom shelves and plywood wraps, we also fabed up our own toekicks. The matching high-gloss gray was an option, but we decided that a solid wood piece would be more durable and add a little extra pizzaz. So we bought one length of IKEA toekick material and used it as a template to make our own. This basically entailed using the table saw to kerf out a notch that would accept the IKEA clip that then snaps onto the plastic legs that the cabinets are sitting on. (We also finished the wood with polyurethane.) Since the space under the island cabinets acts as a plenum for supply air, we simply incorporated a metal grille into that toekick. This is also a very good place to stand on a cold morning. (Did we mention that we went two years without heat in our house? Yeah, love us some heat.)

For the door and drawer pulls, we went with fancy Reveal pulls which are thicker than typical top-mounted hardware and thus needed to be recessed into the doors and drawer fronts.  This seemed like a daunting and potentially risky job to me, but not for Kyle. He simply fashioned a custom jig that allowed him to router out the exact shape and size. Of course.

Love ’em.

The restocking and organizing of the kitchen was my territory. During the design stages, I laid out where everything would go (mainly to make sure we’d given ourselves enough space) and I think I followed the original plan pretty closely. The great thing about going the IKEA route is all the interior fittings. Really, I feel very sophisticated now.

…or maybe not. Yes Mom, the smiley face spoon gets used all the time. Tonight, it made polenta.

Something else I love about the IKEA drawers is that they’re deep. (Even though they’re more expensive, we did all drawers except the sink cabinet. Drawers are just way more functional. Period.) In an effort to avoid countertop clutter, I decided to stow the food processor, toaster and other infrequently used items in the drawers. With full extension drawer glides, it’s easy to pull things in and out and the wider drawers come with extra beefy drawer glides.

Lid organization – just one of the many new luxuries in our lives.

Originally, we were going to dedicate several of the island drawers for food storage (an idea we called the island pantry), but with the awesomeness that is our big pull-out pantry we didn’t really need more space. Except for this one – the all important snack drawer (the white bins are IKEA too).

Lazy Susan! (Where did that name come from anyway?) This is the space where we stash our pots and pans, strainers and mixing bowls. I love it. After years of apartment dwelling, this is another indulgence. On another semi-related tangent, the one thing that we just weren’t thrilled with was the vertical gap between banks of drawers. Even though there is adjustability built-in to the hardware, there’s just no way to avoid a small gap and using white cabinet boxes with a darker front only makes the issue more obvious. Our solution – a strip of black electrical tape on the cabinet box face so it now reads as a black reveal. Architectural detailing at its best.


Finally, la pièce de résistance – the IKEA pull-out pantry! For old houses or small spaces, this is a must-have. IKEA has a few different options, but on this particular model, the top and bottom drawers are permanently attached to the door front and the intermediate 3 drawers can slide in and out independently. And like everything else, it has soft closing dampeners so you only have to give it a light push before it retracts back into the closed position. In the small cabinet above, we store things like vases, the crock pot, and the ice cream maker. We also weren’t afraid to use those handy end panels. By installing one on the exposed side of the fridge, it gave the assembly a more buttoned-up look.

So there you have it – the kitchen tour, MTV Cribs style.

trees

In an effort to increase its urban tree canopy, Seattle started reLeaf, a program that gives out free trees to homeowners. This year, our neighborhood was one of the target areas, so we jumped at the chance to score up to three free trees (say that ten times fast). Today was the scheduled pick-up date and despite the crazy, crazy rain we’ve had all weekend, we hopped in Orange Crush (our beloved ’74 work truck) and went to pick them up. Along with free trees, we also got free watering bags, a planting tutorial from Earth Corps volunteers, and free donuts. A win-win for sure.

There were half a dozen or so species to choose from and after much mulling we decided on an Italian Plum, a Red Oak and a Katsura (which supposedly smells like brown sugar in the fall!).

After we got the trees home we made final decisions about placement and got to digging. Bailey was of course elated about the prospect of dirt and rain.

We decided to put all three trees in the backyard (which is still in need of a lot of TLC). We have one Italian Plum (above, middle) already, but it’s not looking so hot and hasn’t produced much fruit since we’ve lived here, so we’re anticipating its imminent demise. Tree #1 to the left is the new Italian Plum and tree #2 to the right is the Red Oak. (Tree #3, the Katsura, is planted along the fence  closer to the house.) All the trees came bare bulb so they’re supposed to be heartier and more resilient to death by human (a good thing for us).

Eventually, we’d like to plant a few more small trees and do some actual real landscaping. Maybe 2011?

kitchen reveal

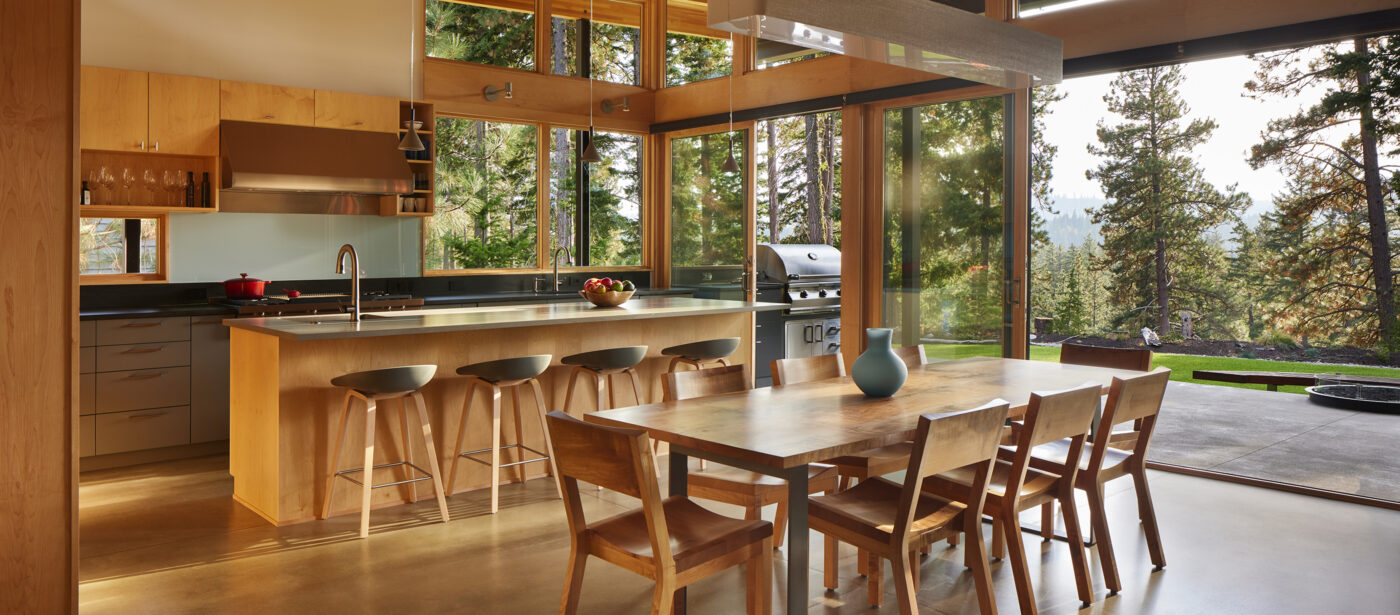
The kitchen is done! We started planning for this project in January, demolished the space in April and finished in (gulp) December. (The other living spaces are close to being done, but we’re holding off on taking photos until we have a few more things in place.) With the exception of drywall, we did all of the work ourselves. We are exhausted, but we are happy. And really, we’re just glad it no longer looks like this. Seriously, it was that bad – from the awkward layout to the gold-flecked laminate, it all had to go.

But enough reminiscing, it’s picture time!

For specifics on products or materials, check out the resources page.

loft ladder design

One of the last big projects to tackle on the 2010 list is the loft ladder. We always knew that this would be a custom piece – not only does it have to be a precise length and angle, but it also has to serve as a guardrail at the top and bottom. 

The ladder is also the first thing you see when you walk in the door, so it has to be awesome. Naturally.

We also knew that in order to be awesome, it should probably be a combination of steel and wood. We’ve been toying around with the design for the last couple of weeks and have landed on an assembly of various steel shapes (welded together), with fir wood for the treads and handrail.

As the ladder extends into the loft, the handrail goes vertical and becomes the guardrail for the lightwell below. The horizontal members here would also be a good place for apprehensive ladder climbers to grab on to. The wood treads are notched and fastened through the underside of the recessed steel plate.

Here’s a SketchUp mock-up of the whole assembly. Since we don’t have welding equipment (yet), we’re talking to a few local companies that could do the steel work and then we’d do the wood portion. Truthfully, I think Kyle is trying to decide if he wants to spend the next couple of months learning how to weld or enjoy not spending every free minute working on the house.

Here is a detail of the top of the stair portion – the tube steel stringers are welded to a vertical plate which gets lag screwed to a glulam beam (now covered in drywall).

The handrail would be comprised of steel bar (welded to the tube steel stringer) with a fir handrail, notched to accept the steel bar. We like the expression of the wood and steel, plus the wood is more comfortable to the touch and occurs where your hand would naturally go as you climb up the ladder.

At the bottom of the ladder, the tube steel is welded to a steel angle that gets lag screwed to the structure below and covers the edge of the cork flooring. The round bars between the treads serve as a guardrail at the bottom of the stair. (Residential building codes require a spacing tight enough that a 4″ sphere can’t pass through.) The steel tab on the left serves as a guide for the barn doors to slide by.

We also talked about doing a ship ladder (with alternating treads), but we like the relative simplicity of single treads. We’re also not sure if we would use blackened steel or have it powder-coated (maybe a dark gray). We don’t really have any other dark steel work in the house, but I think that’s ok. We’ve also gone back and forth about the finish on the barn door track and if it should match the ladder. The track comes in a galvanized (hot dipped, not electroplated) finish, which doesn’t look too bad, especially after cleaning it up a bit.

A new loft ladder will also be good motivation to actually finish the loft. After painting the rest of the main floor, I only had enough sanity to get the space primed and since then – out of sight, out of mind. I’m sure by February or so I’ll have forgotten the torture that is painting a sloped surface at awkward angles.