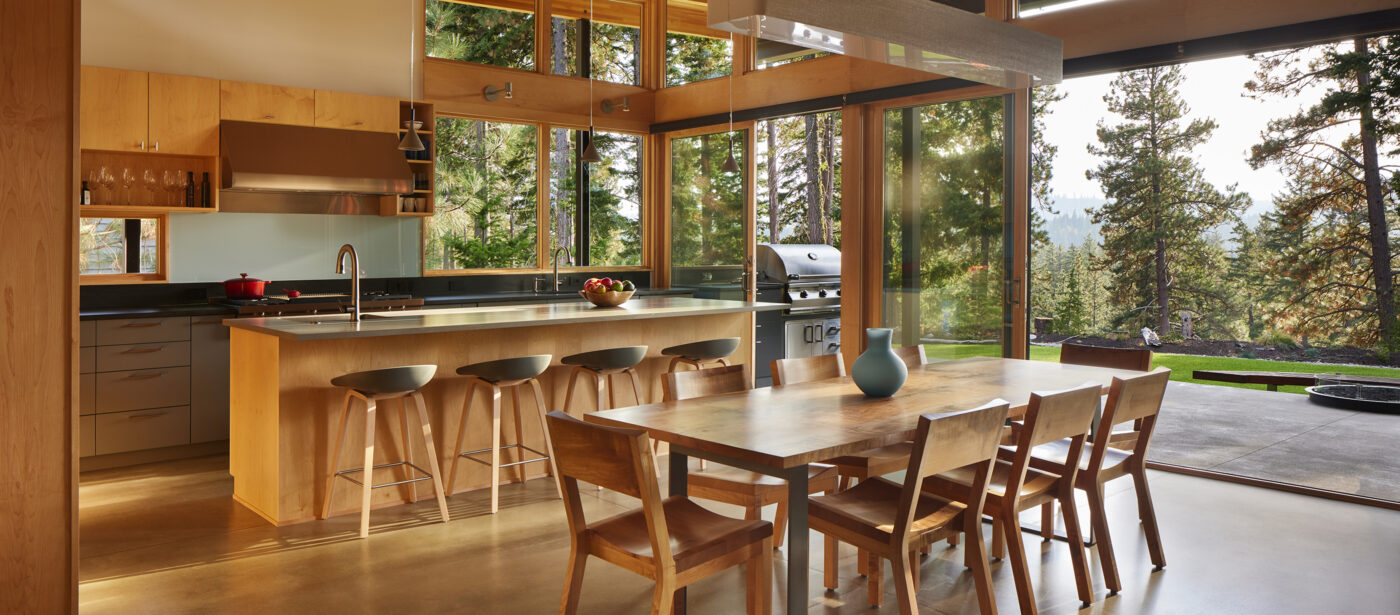

dwell!
So this morning, shortly after reading the newest post on Door Sixteen, I sent Kyle an e-mail with the following subject title:
“Dwell: AHHHHHHHHHHHHHHHHH!”
We are beyond excited to see chezerbey mentioned in a feature about house blogs in the April issue of Dwell. Our site is listed among some pretty fantastic company, including blogs (and their bloggers) that I have a great deal of respect for.
And of course, we’ve been long-time fans of Dwell. In fact, I remember picking up my first copy at the bookstore when I was a first-year architecture student (11 years ago!) and so to get a shout-out in the magazine is definitely a thrill.
If you’re clicking on chezerbey for the first time, welcome! We’ve been working on our remodel for nearly 4 1/2 years and yeah, we’re still not done yet!
(Scan from April 2011 issue of Dwell magazine. We haven’t received ours in the mail yet, so thanks to Anna @ Door Sixteen for sending the image that she got from Jaime @ Design-Milk. )
behind door #1
One door down, three more to go!
Finally, after 2 1/2 years of temporary solutions, we once again have a real bathroom door. (Remodeling is not for the faint of heart, or the modest.)
The color is “thunderbird” from Benjamin Moore. We used Natura zero-VOC paint in a semi-gloss finish.
Here’s how it looks from the bathroom side. We also have plans to mount a narrow full-length mirror to this side of the door.
The attachment plate that connects to the track hardware was recessed into the top of the door for an extra clean look.
We ended up choosing the Linnea pulls. We considered designing our own pull and having it fabricated, but in the end we were happy to find a well-designed product that was affordable (we bought directly from the company and received an architect discount) and that we could have in our hands in two days!
To keep the bottom of the door from flapping against the wall, Kyle notched out the bottom of the door and install a recessed aluminum channel (that was painted to match). This channel then slides over a floor guide that is screwed to the floor. In the photo above, the door is pushed all the way back to show what the guide looks like, but we’ll eventually install stops in the track so you can’t push the door too far and the guide will always be hidden no matter what position the door is in.
I also finally hung my Seattle neighborhoods print, which was a 30th birthday gift from September! I’ll take more detailed shots later, but I decided to mount it on a thin piece of plywood instead of a traditional frame. (We’ll also probably move the print around, this is just the only place where there is a nail in the wall!)
The blue/teal does look different depending on the lighting (and as seen in these different photos), but overall we like. A lot.
hanging the basil
I’ve been eyeing the Boskke sky planter for a while now and last week Kyle surprised me with one of my very own. I kinda love it. Not only do I have basil at my fingertips, but the little bit of greenery and whimsy is a perfect antidote to this dreary Seattle weather. (Ok, maybe a perfect antidote would be laying on a beach in Hawaii, but I’ll take what I can get.)
Read more about how we installed it (including a DIY hack) and our first reactions over at Re-Nest!
progress
So, apparently I need to see The King’s Speech. Oh, and Black Swan, The Social Network, and a bunch of other movies. But we saw Inception! Whatever, I blame the remodel.
So this was our Sunday:
Breakfast and paint chips!
We came up with a potential color palette (above, right) for the doors and picked up a few different quarts of paint. Don’t worry, we’re not using all the colors right now and some will have more presence than others.
Next, a quiet mid-morning with the pile of wood that’s been sitting in our basement for weeks!
Kyle finally started the painful and tedious process of wood finishing (which probably explains our recent affection for steel). He’s applying an Osmo hardwax oil finish to the basement stair treads and risers as well as the loft treads. The other pieces (loft and basement stair handrails, loft opening trim, and door thresholds) are getting a coat of benite and two coats of polyurethane.
Then, an afternoon getting reacquainted with the half-finished basement stairs!
Kyle fabricated the “skeleton” for the basement stair handrail from tube steel and some steel DIY wall brackets (and then painted it to match all the other steel). Similar to the loft ladder, a piece of notched fir will slip over the steel. The steel looks hot and provides a more rigid structure which minimizes the number of wall brackets needed. The stair risers have been installed and are now being finished in place. The treads need a few more coats of Osmo and then it’s their turn. The stairs have actually looked like this for a few months. Not walking bow-legged up and down the stairs will be such an improvement!
And finally, the first coat of paint went on before the pre-show started, the second coat before supporting actress was announced and our bathroom door was finished and hung before best picture! Yes, you can get a lot done during commercials (and certain musical numbers).
Pictures coming soon!
the barn door debacle
The barn door concept started out as a way to further maximize our house’s efficiency while creating an interesting layer of functional texture (I just came up with that architect-speak on the spot!). Anyway, unlike a swing door, a sliding door doesn’t take up extra floor space when it’s in the open position (the same is true for pocket door). Our original design idea began with a horizontal track down the entire length of our house and a series of “moveable walls” separating the “public” and “private” spaces, giving us the ability to reconfigure the flow of the house with the push of a door. We even designed the openings so that the doors would feel composed whether they were in the open or closed position. After making the call to add the loft and adjacent “light well” over the basement stairs, we decided to stop the barn door track and preserve a large blank space of white wall for a TBD piece of art. [Kyle is in love with the work of Cassandria Blackmore, a local Seattle/San Francisco artist who composes color behind shattered glass.]
During our SketchUp design phase, we modeled the barn doors as wood (vertical grain fir) but have since decided that 1) maybe we have enough fir in the house and 2) the doors would be expensive, especially for the oversized pair of doors at the flex room, which need to be close to 3′-6″ each.
Then we had a brilliant idea. What if we made a door frame from welded steel pieces, with a MDF core that could be painted? It would look awesome and we’d save a ton of money!
Or maybe not.
Barn door FAIL! Well, in all fairness this is just the skeleton of the trial door. The steel frame would have been painted dark gray to match the track and a layer of fresh 3/8″ MDF would have been glued to each side and painted in a vivid color. Maybe something like this…
…and really, it is a cool door but it was too fussy and took WAY TOO LONG to fabricate. The frame was composed of back-to-back angles on three sides and back-to-back channels on the leading edge, providing a comfortable finger hold to operate the door from either side. The MDF core was dadoed on all four sides to fit over the interior flange of the steel frame and had to be installed before the final leg of the frame could be welded in place.
Are you overwhelmed yet? Yeah, us too. We were so thrilled with how the loft ladder turned out that we dove straight into welding up these doors. But the reality was that the design was too precise and the steel shapes so small that it just wasn’t the right solution. Also, the door was ridiculously heavy (and hard to operate, even without the two layers of MDF that still needed to be added) and the fact that this is the smallest of the four doors wasn’t a comforting thought. So we left the door in place for a week or so while we came up with version 2.0 (hey, at least we had a bathroom door in the interim!).
Another problem with the steel/MDF doors was that what started out as an inexpensive door was slowly getting pricier and pricier with each revision (for instance, we were now using three sheets of formaldehyde-free MDF per door). So we simplified. One thing that changed about our thought process since that first SketchUp model was the idea of painting the doors (inspired by Mad Men). This freed us to use a solid core door, but in a less expensive paint-grade option instead of the VG fir veneer.
Bam! We have just the bathroom door up now and despite the stock off-white color, it’s already a better solution (and much easier to operate).
With the magic of Photoshop, I started exploring color options…
Teal?
Blue?
Mustard yellow?
We also had a lot of husband and wife discussion about hardware and ergonomic door operation (uh, that’s normal right?). We’re thinking that a recessed door pull on each side is the way to go – modern and minimal but functional and comfortable.
Naturally, we like this ridiculously expensive pull from FSB. They’re spring-loaded which means they stay flush when not in use and the inner plate pushes in when in operation. Sexy! But at $70-$80 each…times 8…yeah.
Our second choice and more realistic pick are these recessed pulls from Linnea. They’re still not cheap and range from $24-$60 each. [We love the one on the left as it provides a place for your palm so the door doesn’t get smudgy.]
We also checked out Reveal Designs (bottom left), but it didn’t really do anything for us and it’s likely the price tag is higher than the similar Linnea version. The image on the right is also from FSB and is super hot but it looks ultra expensive and more complicated to install (though we dig the two-sided operation it provides).
So that’s where we’re at with this whole process. We felt good enough about the paint grade solid core doors that we ordered the remaining three last week. We’ll also share some details on how we attached the rollers at the top of the door and added a recessed aluminum track to the underside of the door for smoother operation. As for colors, we’ll probably do a few more Photoshop studies and then paint on a few samples once the doors are in place. The good news is that paint is pretty non-committal so we’ll probably just go with the ol’ trial and error route. We even talked about having two sets of doors that are in different colors that we can change out depending on our moods or the time of year. I’m fairly sure that this is an extremely low-priority idea, but it could be fun – like a Swatch watch for our house.