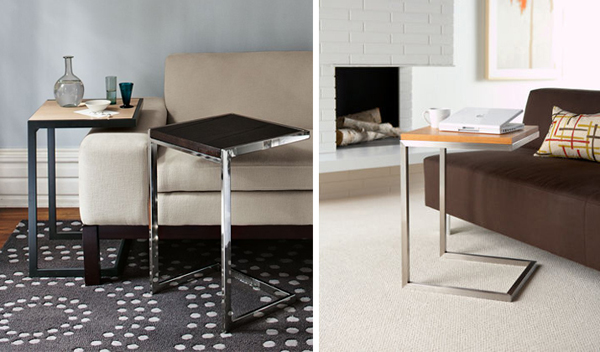
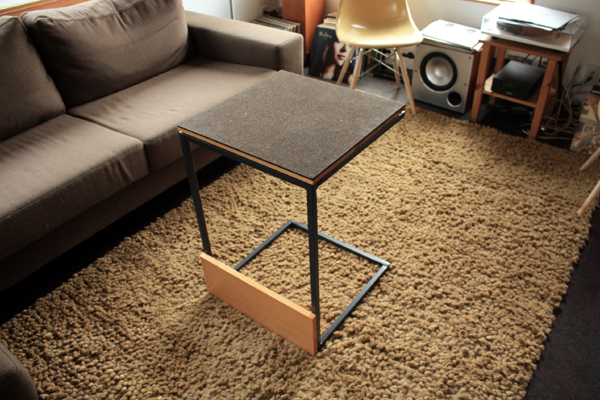
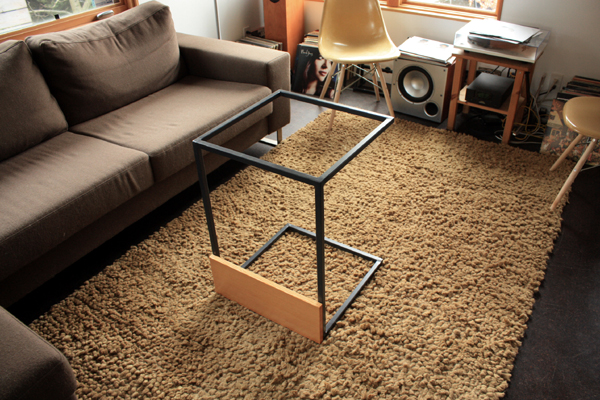
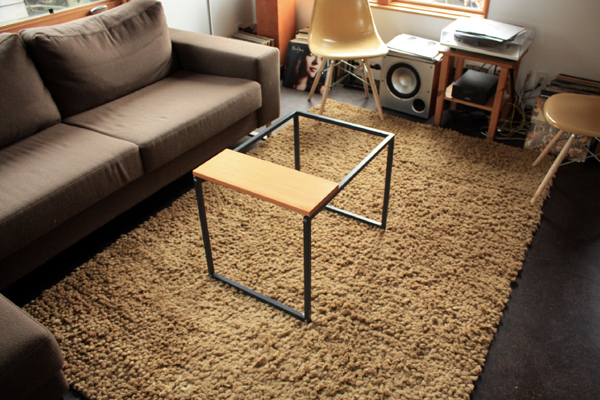
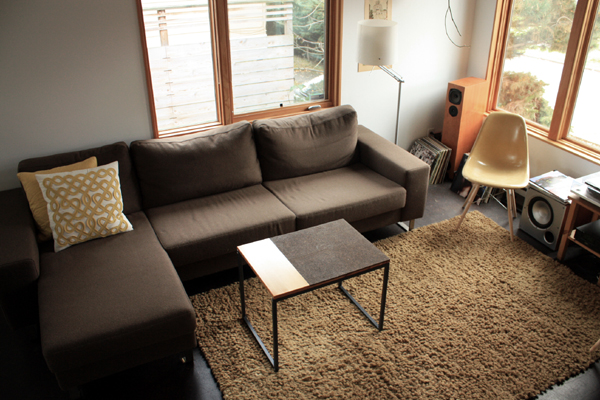
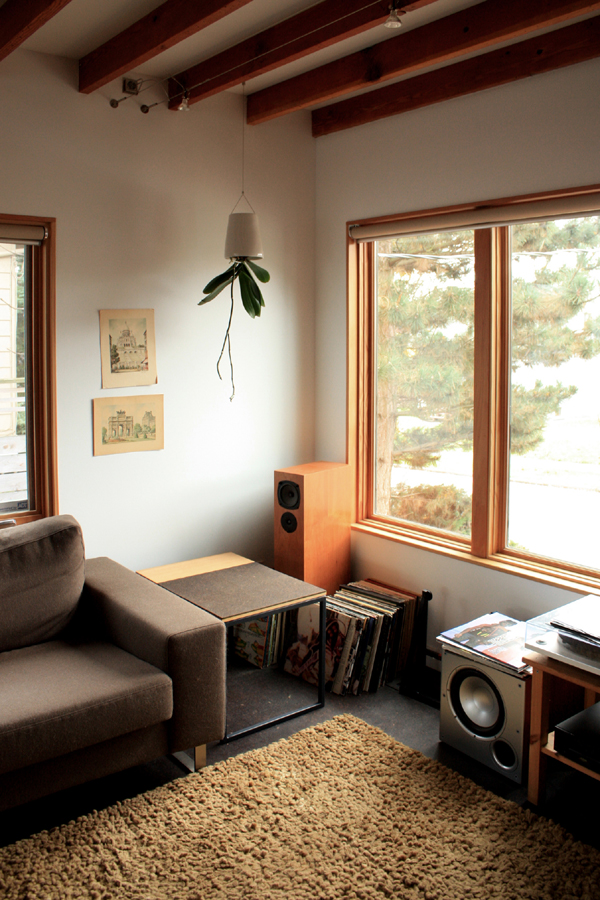
After making the decision to move the coffee table into the flex room, we realized that what we really needed for the living room space was some sort of side table. With our L-shaped couch configuration, our first thought was to find something that could overlap the chaise. Something like this:
This style of table is not hard to find, but with prices ranging from $150-$400, DIY was starting to seem like a better alternative. I mean, how hard could it be?
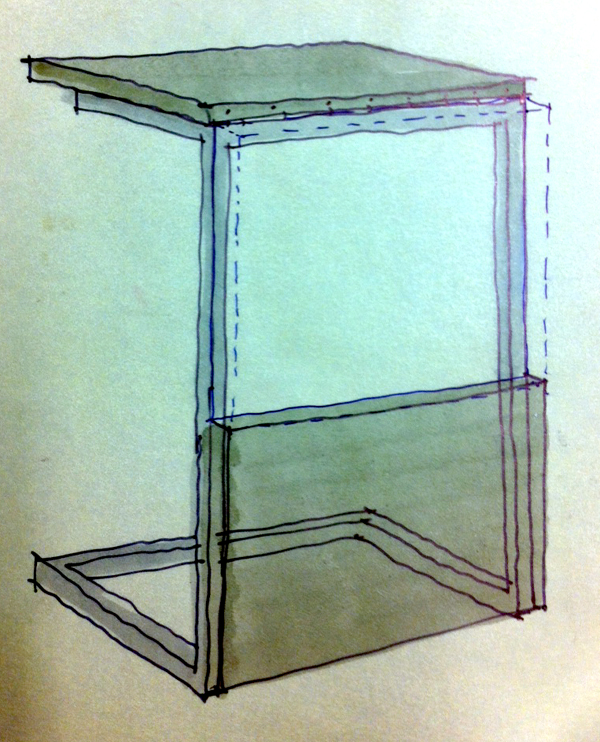
So a couple of weeks ago, after a few preliminary discussions and some back and forth e-mailing, we came up with an idea that’s a different spin on the ol’ C table. In a moment of simultaneous design vision, we realized that with one small move, what appeared to be one table could actually be two. To illustrate the idea, Kyle texted me this quick sketch (hence the funky colors):
Instead of a simple wood top fixed in place, we had the idea to use a piano hinge along one side so that the top could be flipped to the opposite side of the frame (as shown with the dashed blue line) and then the whole thing could be turned on its side, creating a coffee table of sorts.
Later that night we talked more about the design and ultimately ended up nixing the piano hinge (too fussy) and instead decided to use a simple friction fit method for the removable top.
So with the design settled on, it was time to build!
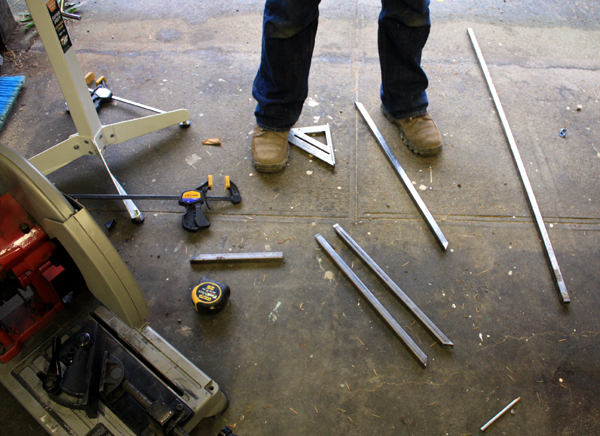
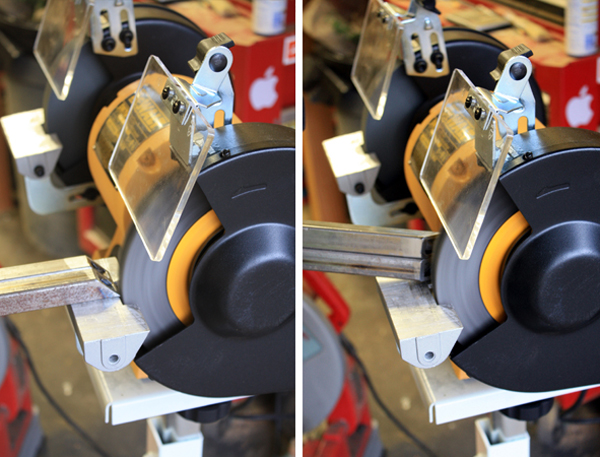
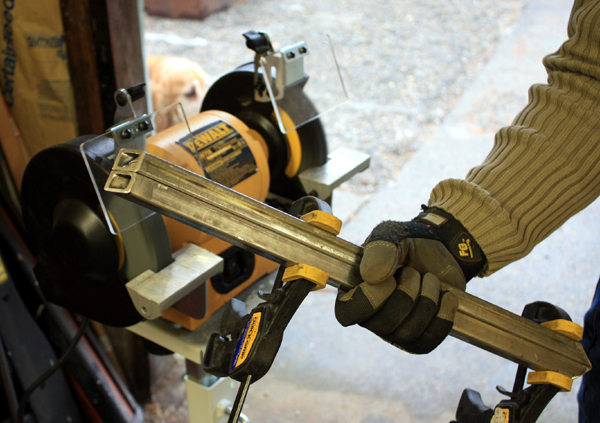
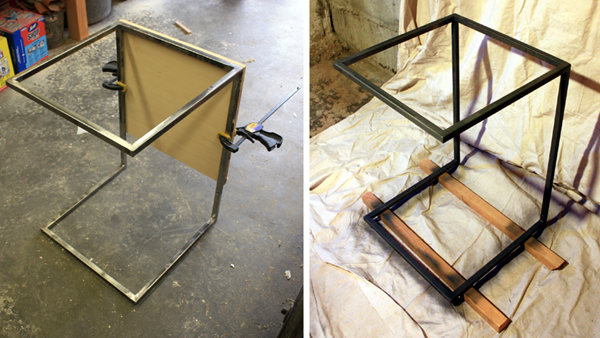
Kyle used 3/4″ tube steel that we had leftover from the loft ladder project. First he cut the pieces to size, then grinded them smooth to ensure a clean, mitered connection.
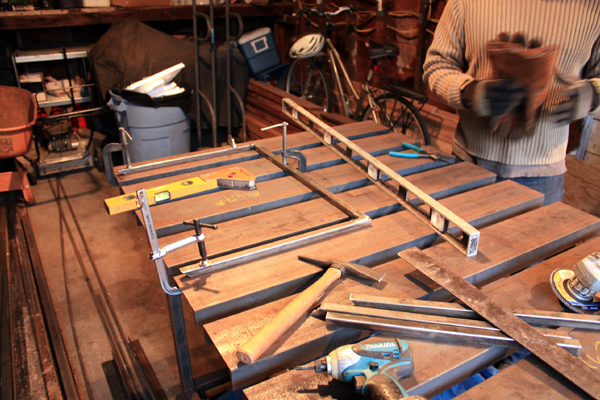
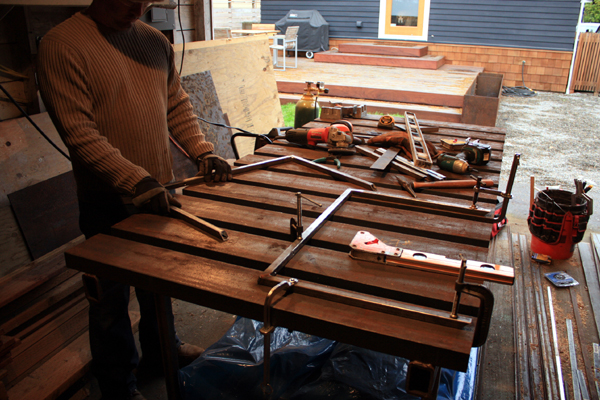
Next, he moved the pieces to the carport (aka the welding shop) and began setting up the frames for welding.
The key with welding is to have a solid work table that pieces can be securely clamped to.
[10 bonus points if you see Bailey in the above photo.]
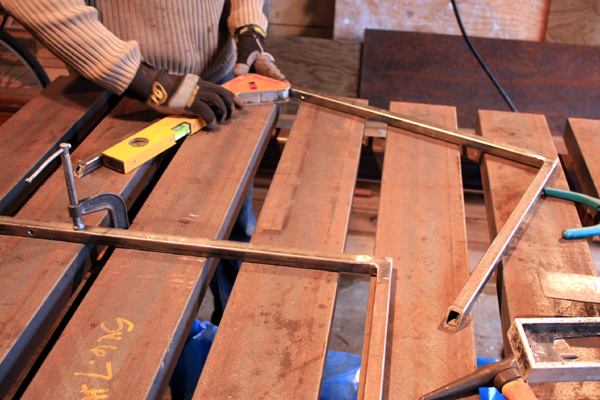
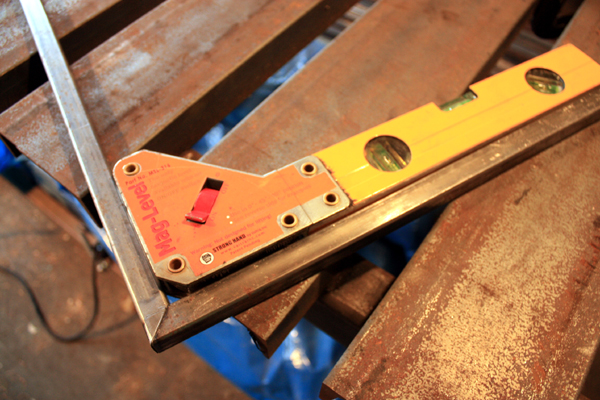
To make sure that the corners were true 90 degree angles, he used this fancy Mag-Level…
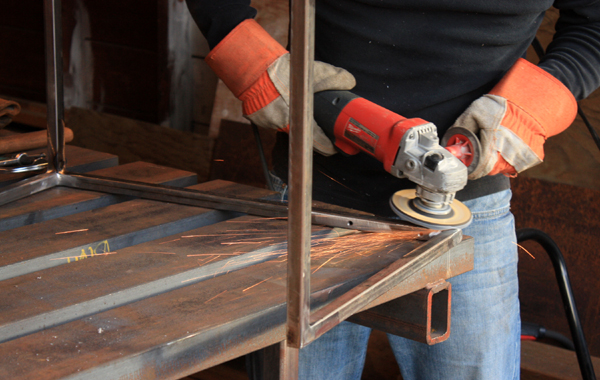
After the welding was complete, Kyle used an angle grinder to clean up the welds.
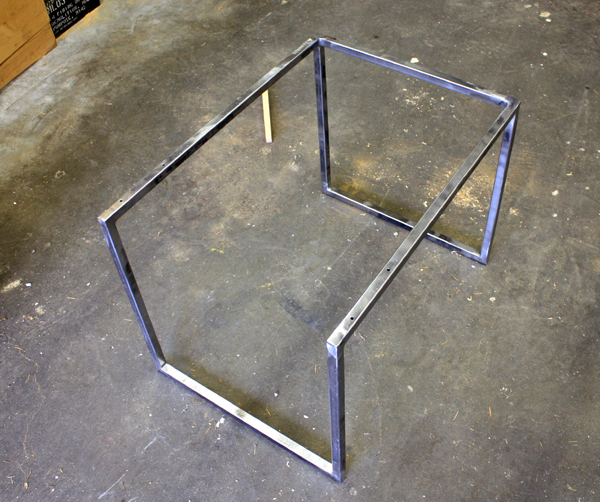
The finished frame – a bit mottled but not a big deal since we planned on painting it.
[Newbie welder tip – we’ve found we have better results if you can either hide your welds (like with our planter boxes) or grind and paint them (like with our loft ladder). It’s a good way to get a nice end product without needing to go super high-end with your equipment.]
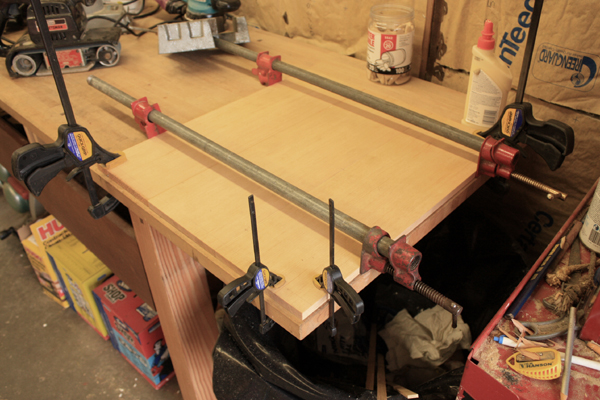
For the wood top, we wanted to use solid fir wood instead of a veneered plywood, so we decided to biscuit together three 1×8 boards.
After a quick dry fit to make sure everything was lining up, Kyle moved the frame down to the basement (aka the spray shop) to give it a few coats of our favorite black-gray automotive primer (the same thing we used on the loft ladder and barn door tracks).
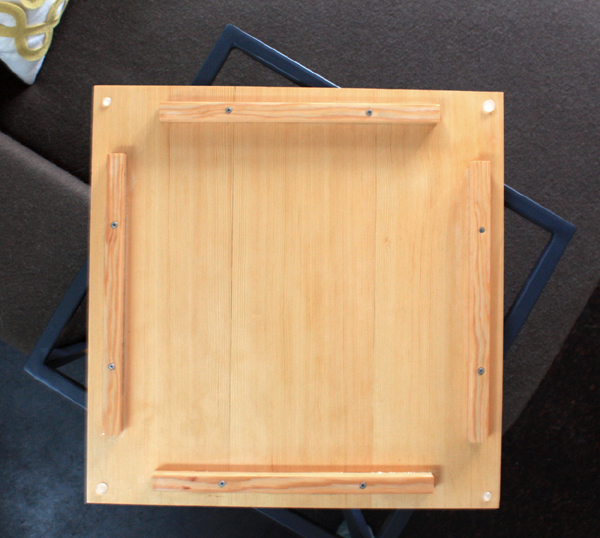
The table top received a coat of Benite and a few coats of Satinthane. Here’s a shot of the underside that shows the wood strips that provide a snug friction fit into the frame.
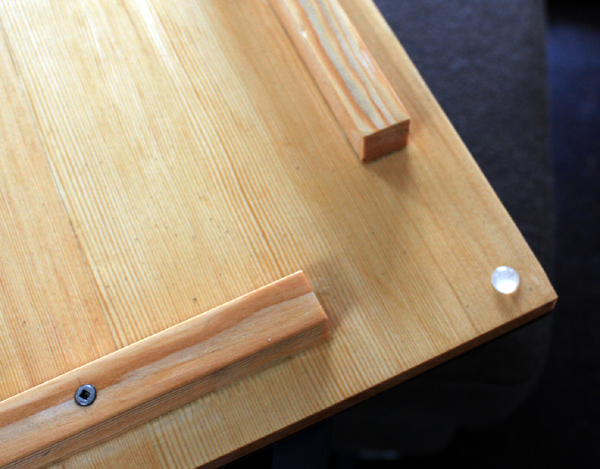
To protect the paint finish and provide a slight reveal between the wood and the steel, Kyle added small plastic protectors at each corner.
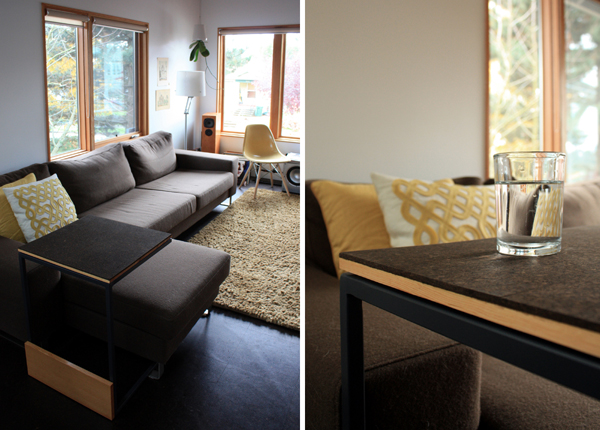
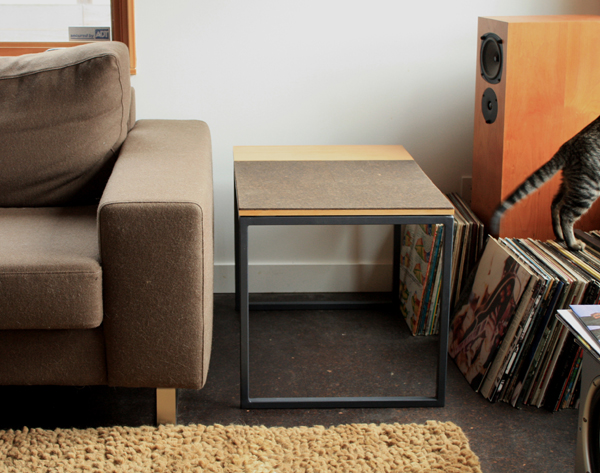
And here’s the finished product – instead of making both pieces solid fir, we decided to instead face the larger table top with the same cork we used on our floors (we had some unfinished scraps leftover). Can you say giant coaster?
But wait, this isn’t just your run-of-the mill C table…
Nope, it’s a Transformer.
TRANSFORMER – coffee table in disguise!
(If you were a child in the ’80s…you’ll get that.)
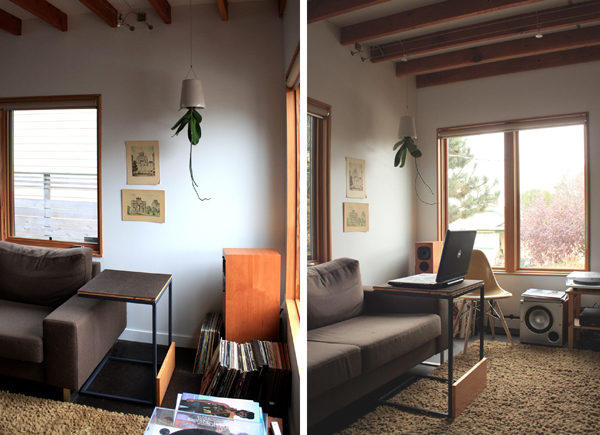
That’s right, our lil’ table has a dual identity.
Over the years, we’ve learned that in a small home it’s crucial for pieces to serve multiple functions. Depending on our needs, we can change the configuration or location in just a few quick steps.
Oh and hey, it also works as a side table on the opposite side of the couch…
To get a flush transition between the two top pieces, we used 3/4″ fir for the fixed panel and 1/2″ fir (with approx. 1/4″ cork) for the removable panel. Kyle also did a very light sand at the cork for an eased edge.
It’s a bit tall, but in a pinch it could also double as a couch-based work station…
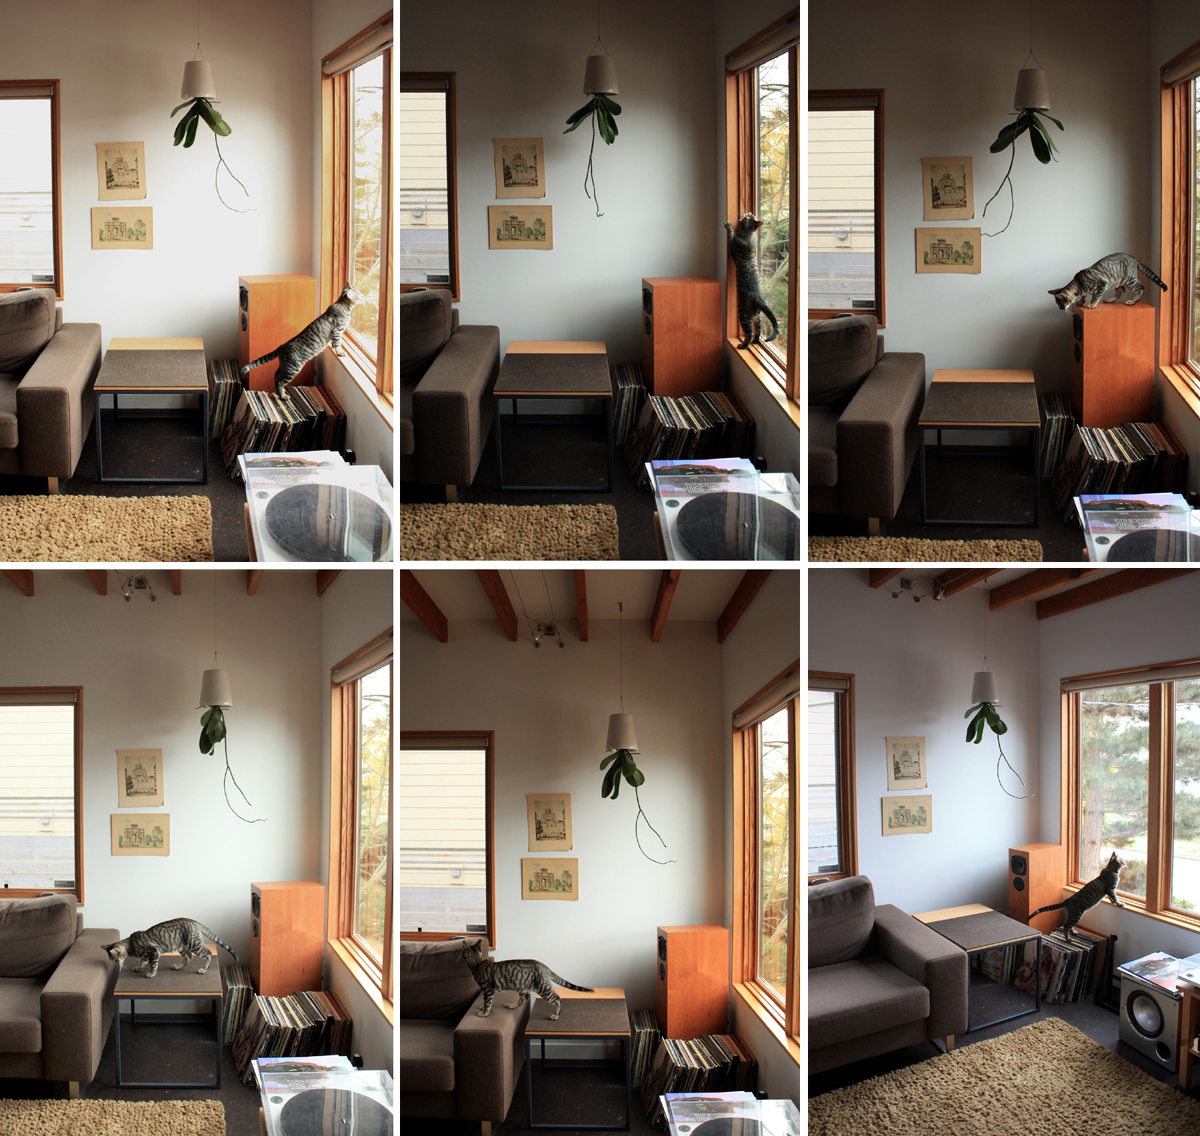
Finally, to test its durability we called in our feline expert:
The table is a prototype of sorts, but we like it. (As seen in the photos above, we’re also messing around with some more artwork ideas.) The “finishing touches” phase has been one of the most challenging for us, but with each bit of progress it starts to feel more and more like our home.
